Thursday, October 25, 2012

Whipsaw Trail Adventure 2012

WHIPSAW Trail Run - October 2012
Princeton, BC
 
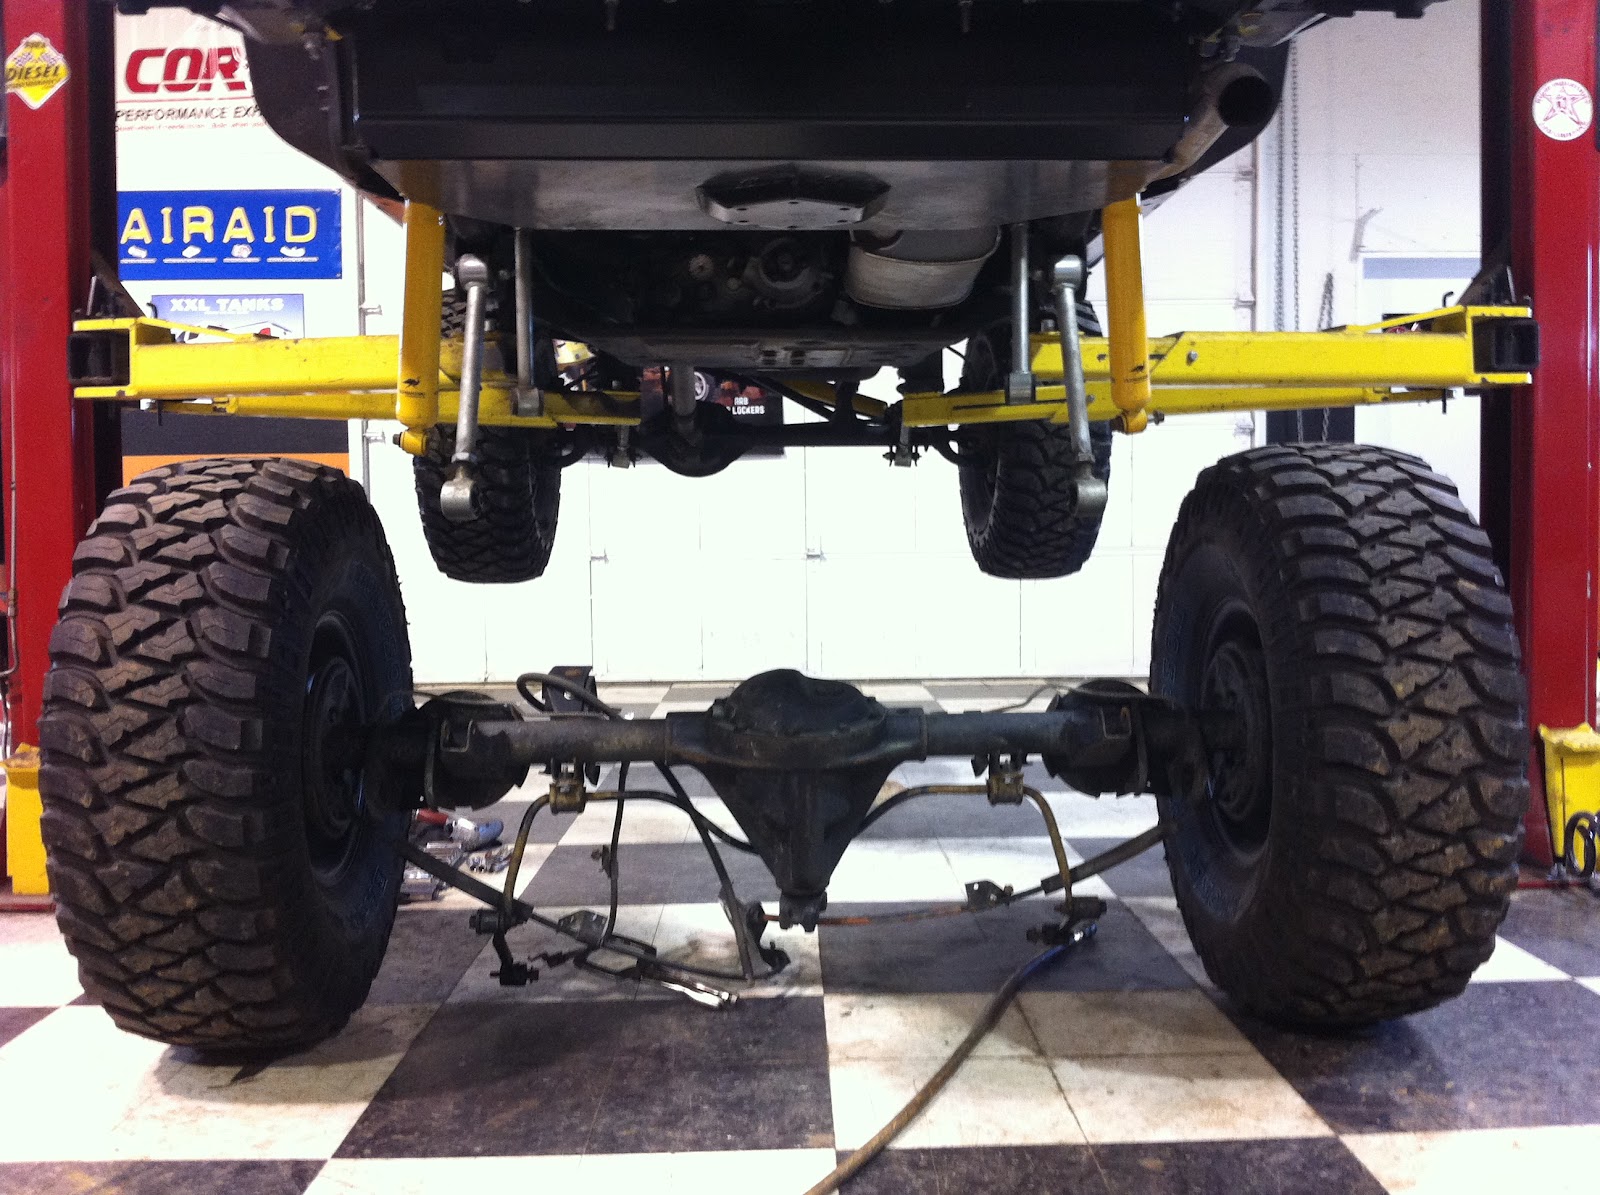
We put the Cap-it/ARB Jeep through it's paces on it's first Off-Road run.


Here's the beginning of the Whipsaw Road off Hwy 3 just before the town of Princeton
 
Base Camp for the 3 days we were up there
 
 
Some of the crew that joined us for the weekend 
"THE BUS"
 
 
Day 1
 
Hill Climb Action with the Suburban
 
Now it's Jeep time
 
Various Poser Shots
 
 
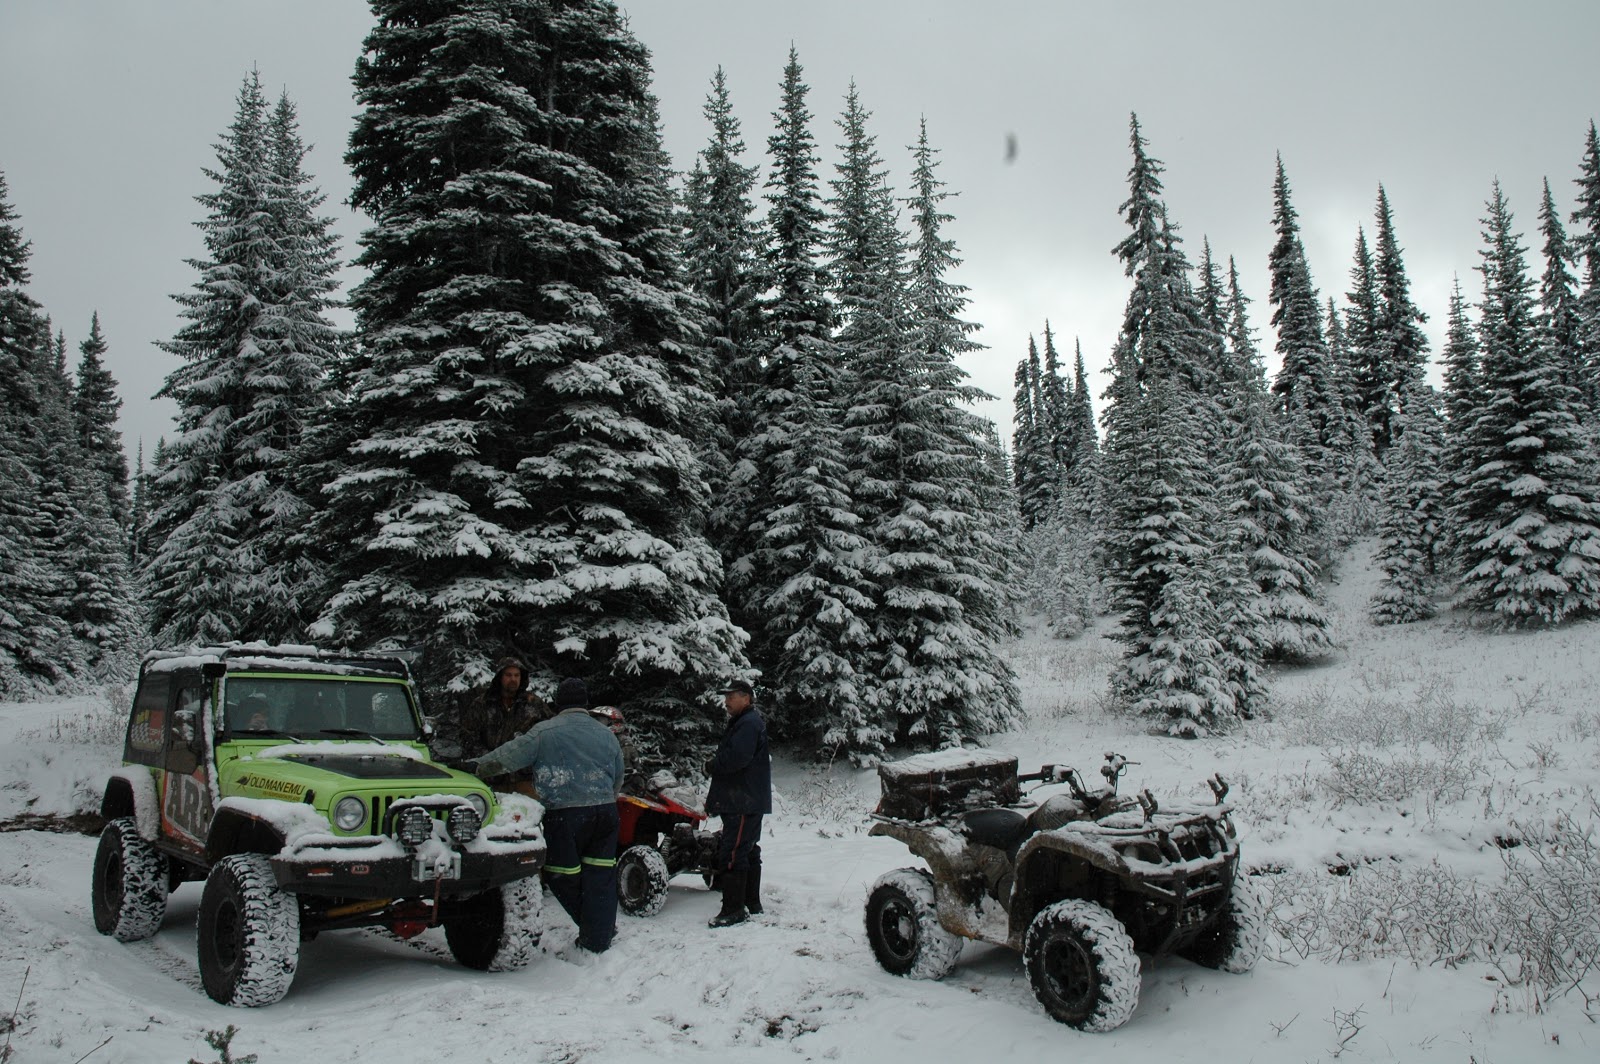
 We're at an elevation of about 6500ft and as you can see it's starting to snow, which always adds more fun factor to the run
 
Day 2
 
We wake up the next morning to about 2 inches of snow and about -5 degrees celcius


Up on the trail again
 
 
Patty's Pond
aka Potty's Pand LOL!! 
One of many interesting places to stop with a old cabin now used by sledders and hunters. We also did some Geocaching which was nearby. 
 
 
As we're waiting for the rest of our guys to catch up to us a group of Land Rover owners passed us. Good to see a range of old and new rigs blasting through the trail.
 
 
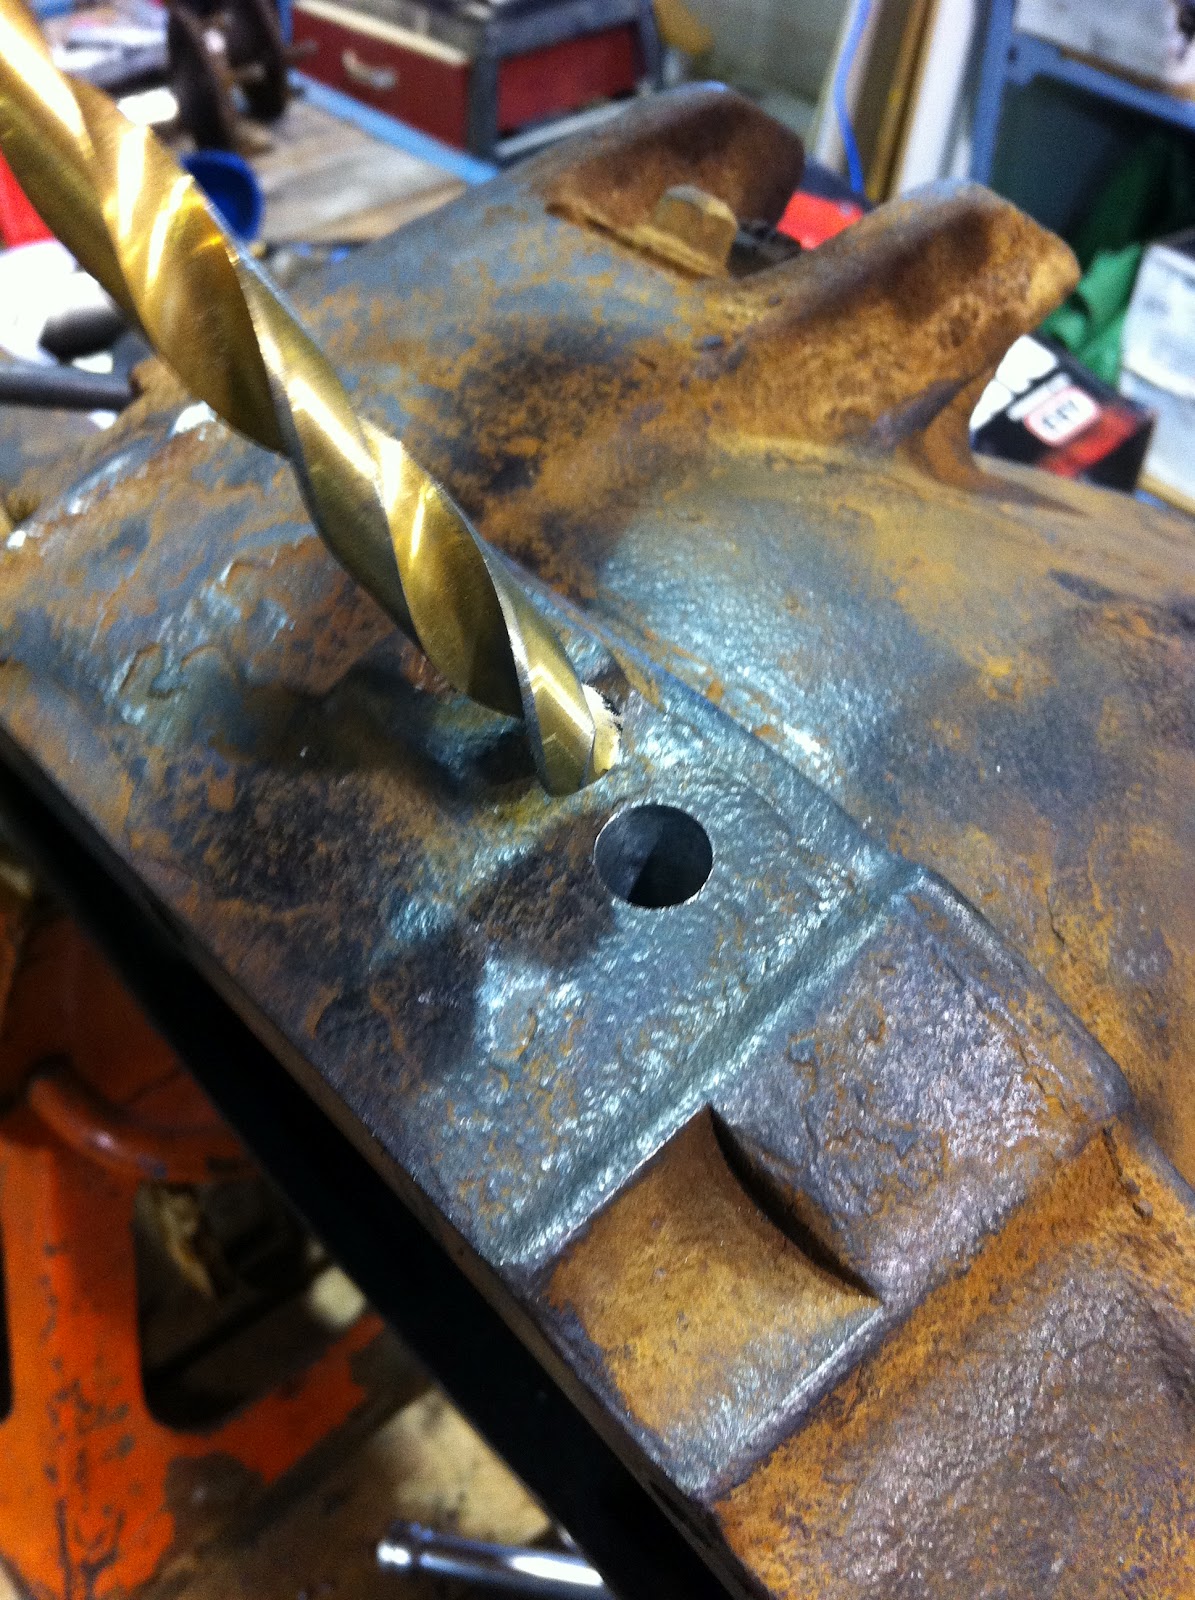
The WHIP always brings on the trail repairs. The BUS needed some driveline repairs as the steady bearing popped out.
 
Waiting on the trail for repairs to be made
 
The sign that we're good to go!
 
Here we are arriving at Wells Lake


One of the guys thought he could make it through one of the enterances that take you to the far end of the lake.
 
Here's a shelter that was put up many years ago from a local off road club at Wells Lake.
 
More poser shots at Wells Lake
 
As you can see the weather was starting to turn for the worst. Within about 10 minutes after taking this picture is was White Out conditions and about 5:30pm. So we decided to turn around and head back to base camp.
 
On our way back to camp that's when the real carnage started to happen. You name it, it happened. Conditions on the trail were brutal that night. The Suburban blew the front diff and its a steep climb out with tight switch backs out of Wells. The Bus had to do some heavy towing to get it out. We all worked well into the evening as one by one things were starting to let go. Around 11:00pm the Bus came to a complete stop on the trail and never fired back up. We figure the ECM went on it, so we grabbed one of the trucks from camp to help recovery it and finally bring it back to camp. Eventually we all made it back around 2:30am in the morning. Needless to say no pictures were taken due to lack of visability and being tired. But all in all it was a fun and safe trip for everyone.
 
I hope to have some videos up shortly with some of the action during our weekend. Meanwhile it's time to head home and get ready for the next wheeln trip.


Check out the follwoing links for more details about Cap-it 
and where the closes store is near you.

Wednesday, October 3, 2012

Now at Cap-it Richmond

The Cap-it / ARB Jeep
Now at Cap-it Richmond
 
Swing by and come have a look. it will be there until October 16th,
then off on a wheel'n trip. Keep you posted on that.....


Monday, March 19, 2012

Disc Brake Conversion and ARTEC Industries Axle Truss

Since our last post a few weeks back, we've made some good headway on the rear axle swap. The stock 91-94 Explorer 8.8 axle came with drum brakes, so it just makes sense to upgrade them to disk brakes for a cleaner look. For rear disc brakes we're going to be using a setup that comes from a 94-04 Mustang V6. These parts are inexpensive and very easy to work on.

First things first, a portion of the brake mounting flange had to be trimmed for our new brake caliper bracket to fit. We need to mount it in this position because we need the clearance for the E-Brake cable to run over the axle tube in order to line up to the caliper.

After we gave the caliper bracket a shot of black paint, we now had to replace the wheel studs in favor of longer ones. The reason for this is the overall track width on the Explorer axle is 1-1/4" narrower that the stock Dana 35. To maintain the factory track width we're going to use a 1/2" wheel spacers on both sides. With the thickness of the spacers and rotors, we're now able to get back to the factory track width and have proper thread left on the studs to mount the wheels on.

We've now assembled the brakes and bolted everything up.  


Now we can start on the Axle Truss Kit.

When we started this Ford 8.8 axle swap project, we wanted to make it as smooth as possible when mounting on new Jeep TJ Brackets. So we turned to one of our suppliers, ARTEC Industries for this slick TJ 8.8 Swap & Truss Kit. This really takes the guess work out in where to position all the brackets. There's only one way to put this assemble it and the instructions are very easy to follow.

Pre-assemble the main pieces together and rest it on the axle. This is to make sure that you have all the brackets in the right location. We then set our pinion angle to 15 degree's and the top of the truss plate dead level.


Pinion Axle set to 15 Degree's

Top Axle Truss to 90 degree's level

Now that we got brackets in place, we tack weld everything together and dry fit the axle into the Jeep to make sure everything is lined up correctly.

Removing of the old Dana 35

Installing the Ford 8.8 to make sure the brackets are in the right location

As you can see, the rear control arms line up perfectly on both sides and there's plenty of clearance around the truss brackets.


Once we're satisfied with the clearance and fitment of the axle, we remove the rear end from the Jeep and completely weld up the Truss Kit to the Axle.


Stay Tuned for more as we continue upgrading the
Cap-it/ARB Jeep TJ drive train

Monday, March 5, 2012

Preparing for the new Ford 8.8 Axle

After some careful planning and gathering all of the necessary components, we're ready to start work on our Ford 8.8 Axle swap for the Jeep. The rearend that we're going to be using is out of a 91-94 Ford Explorer with a 31 splined shaft. The reason for the axle swap is we need better gearing than the stock 3.07 gears we have in the Jeep. Also when you go to a lower gear ratio, you must use a different carrier. So since we want to use Air Lockers and 4.56 gears it just make sense to get a beefier rearend to take some abuse with everything we have invested into it.

First thing we did was completely strip down the entire axle. Cut off the leaf spring perches, shock mounts and took the factory gears out. We also did away with the stock drum brakes as we're going to do a rear disc brake conversion.

Here we are now on the start of the gear assembly. We are going to a 4.56 gear ratio to match up with the 35" tall tires along with all new bearings.


After installing the the pinion gear and seating it properly, we're now installing the new ring gear on the ARB Air Locker. Part# RD81

With the new ring gear installed, we have to do a little bit of trimming on one of the teeth in order to get the center kingpin out from the locker. All we used was a Die Grinder with a Carbide Tip and shaved a little off.

Now we can install the new locker and line up the gears. When routing the copper air line around the gears, take your time with this. You don't want to snap the line off the fitting nor kink it. 
Here we are measuring the backlash

Now for some gear pattern to make sure the ring and pinion gears
are lined up and shimmed correctly. Rotate the gears front to back and back to front to ensure contact has been made on the gears

As you can see by the wear on the pattern, we want the ring gear to line up in the middle of the ring gear. We got lucky on the first try and didnt need to take it apart to re-shim it.

Now we have to drill out a 7/16" hole on the top of differential housing for our air line feed and thread it with a 1/4 NPT Pipe Tap 


Shown here is the finished view of the locker and gears installed


Next up on the Ford 8.8 Axle swap, we install Rear Disk Brakes from a Mustang and ARTEC Industries
TJ 8.8 Swap Kit with Truss 

Check back with us soon